
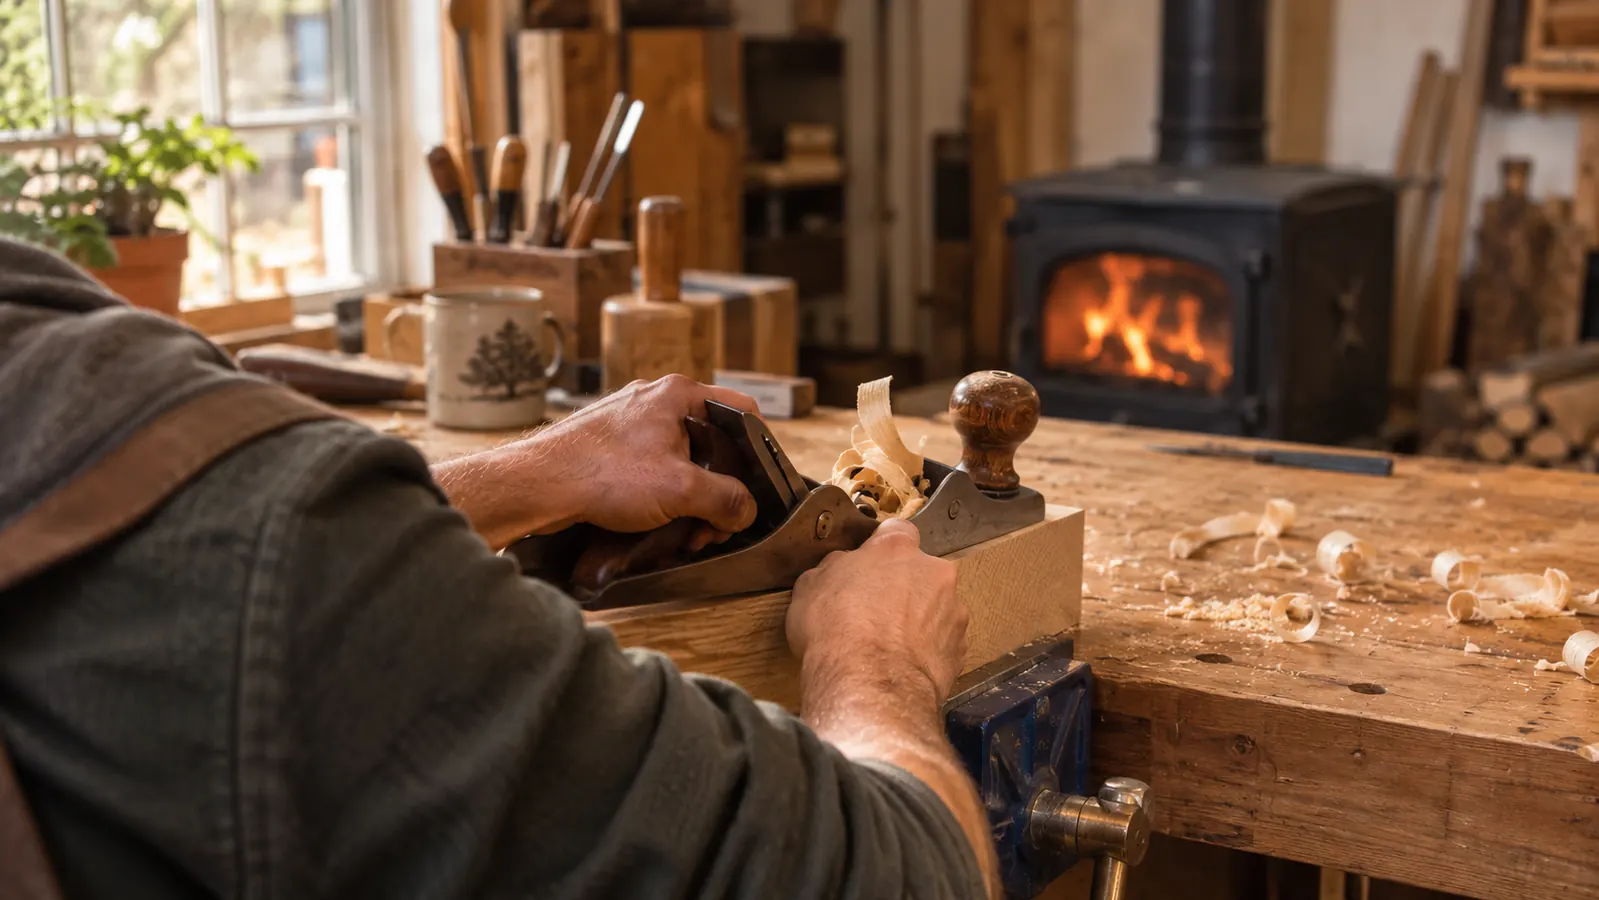
You square up a board, cut it to length, and then you look at the end. It is fuzzy. One corner is proud, the saw marks are still showing, and the whole face has that bruised look that end grain gets when a blade has been pushed through it instead of sliced. The instinct is to grab a block plane and take a heavy pass to clean it up fast. That is how a board ends up a sixteenth short and looking worse than it did before you started.
End grain does not behave like the face of a board. The fibers stand up like a bundle of straws, and a blade set too deep will lever them up instead of cutting them off at the root. I have trimmed ends with a lot of different planes in thirty years of repairing old houses, and the one that stays on my bench for this job is a low angle block plane. The one I reach for now is the Jorgensen No.60-1/2. It weighs 1.5 pounds, it has a 1.38 inch cutting width, and its cast iron base gives it enough heft to keep cutting when the grain turns contrary. Nothing about it is fussy, and end grain punishes fussiness.
One plane, set fine, and the end comes out clean
The Jorgensen No.60-1/2 is the block plane I keep set up for end grain: 1.5 pounds, a 1.38 inch cut, an O1 tool steel blade, and a depth knob that moves in small enough steps to be worth having.
Amazon Check today's price on Amazon →Step 1: Read the grain and brace the far edge
End grain is short fibers standing on end. Hold the board up against the light and you can see which way they lean. If the tops of the fibers lean away from you, cut in that direction, so the blade catches them at the root and slices them off. Cut against the lean and the blade gets under the fibers and lifts them, and what comes off is a ragged tuft instead of a shaving. It is the same reasoning as planing with the grain on a face. The stakes are just higher, because end grain that lifts has nothing behind it to stop the tear from running.
The second half of setup is support. If the far edge of the cut is hanging in the air, the last half inch of the pass will push the fibers forward and snap them off below the surface. That is called spelching, and it is the most common reason a trimmed end looks worse than the saw cut did. Clamp a scrap of the same thickness tight against the far face, or set the board into a bench hook so the end is braced. You are giving the fibers something to push against.
I also get the board low in the vise. An end sitting two inches above the jaws will chatter, and chatter shows up as a washboard on the end grain that you then have to plane out, which starts the whole problem over again. Level with the top of the bench, or a half inch above it, feels solid. A solid board means your hands can do their job instead of fighting the work.
Step 2: Set the iron for a shaving you can read a newspaper through
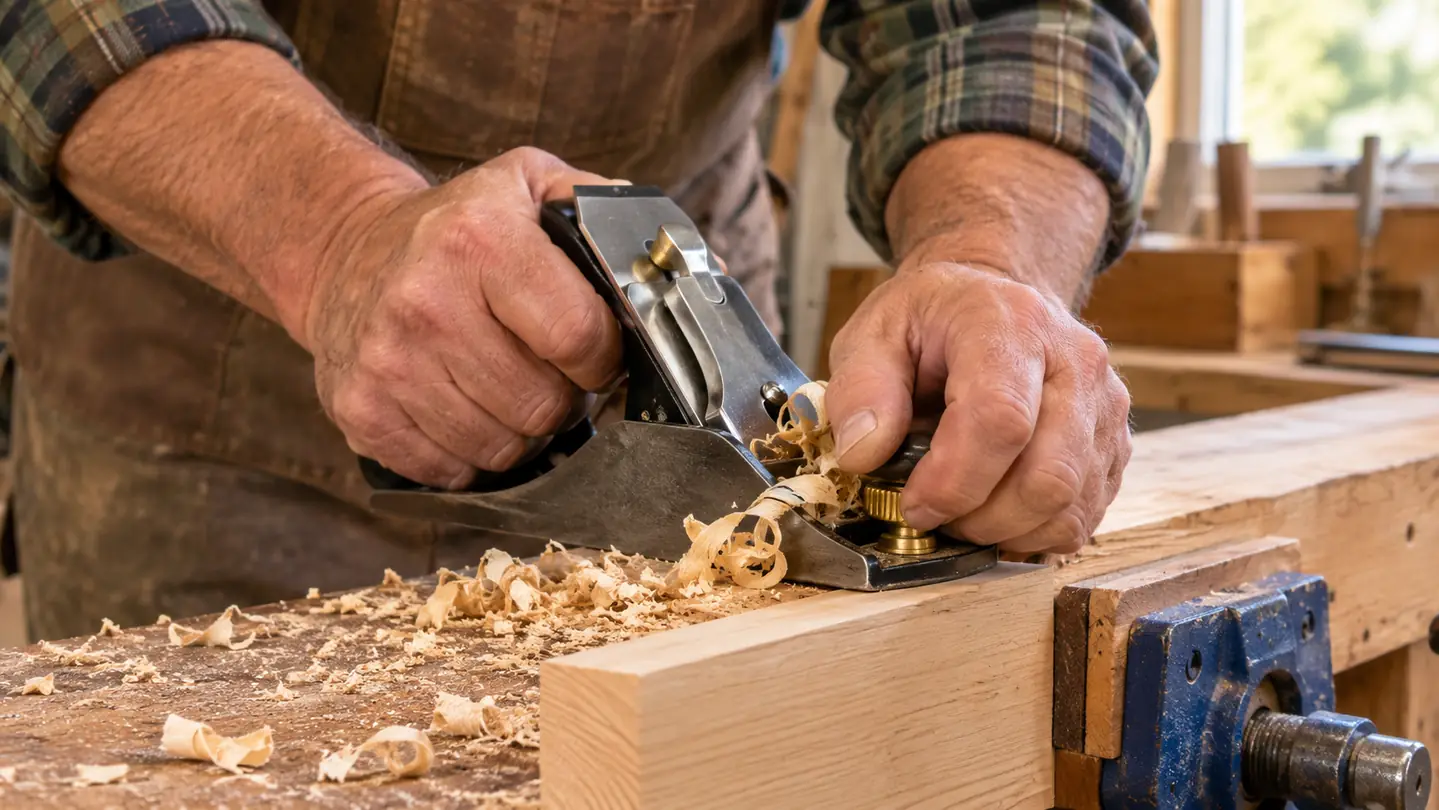
On the Jorgensen the depth adjustment is a knob you turn, and the difference between a clean pass and a torn one is often a quarter turn of that knob. I set it to take a shaving thin enough to read newsprint through. You are not removing material at this stage. You are removing the fuzz, the saw marks, and the torn fibers the saw left behind. If the plane is fighting you, the iron is too deep, and no amount of pushing will fix a setting problem.
The blade is O1 tool steel, which takes a fine, clean edge, and a fine edge is what end grain rewards. A blade sharp enough to shave hair off your forearm will slice end grain cleanly. A blade that is only sharp enough for pine will skate and burnish instead. There is a real difference between an edge that is dull and an edge that is sharp but has lost its very tip, and end grain is where you find out which one you are holding.
Take a test pass on scrap before you commit to the good piece. Same species, same moisture, cut the same way. Two passes on an offcut tell you more about your setting than ten minutes of squinting at the iron. I keep a short length of whatever I am working under the bench for exactly this.
Step 3: Chamfer the far corner before the blade gets there
The far edge is where the cut exits, and it is where the damage happens. Two or three short passes taken at about 45 degrees across the far corner, before you start the real work, remove the unsupported fibers that would otherwise break out. When the plane arrives at that corner it is cutting air instead of levering a fragile lip of wood forward. It takes half a minute and it saves boards.
I learned that the hard way on a white oak sill for a neighbor's porch door. I was in a hurry, skipped the chamfer, and blew out the corner on a piece I had already fitted and trimmed twice. I had to cut a new one, and the second sill cost me an hour and a piece of oak I had been saving. I have chamfered first ever since, on everything, including the pieces where I am sure it will not matter.
While you are at it, do not try to take the full width in one pass on the first stroke. Skew the plane so the blade is only engaging part of the end, work that band, then shift over and take the next. Narrow the cut, then widen it. It is slower for the first ten seconds and faster for the rest of the job.
If the far edge of the cut is hanging in the air, the last half inch of the pass will break off below the surface. That is spelching, and it is the most common reason a trimmed end looks worse than the saw cut did.
Step 4: Skew the plane and keep the passes light
Skew means holding the plane at an angle to the direction of travel, somewhere around 20 to 30 degrees, so the blade meets the fibers at a slicing angle instead of a chopping one. It lowers the effective cutting angle, which matters on end grain, and it spreads the wear across a longer section of the blade. A low angle block plane already meets the wood at a shallow angle, and skewing takes that a step further.
Push with the hand at the back and steer with the hand at the front. Long, continuous strokes, not short scrubbing ones. Scrubbing rocks the blade and rolls the edge of the end over. If the plane wants to walk sideways out of the cut, you are skewed the wrong way relative to the grain, or the iron is too deep. Try the other direction and listen. A clean cut sounds like a zip. A bad one sounds like tearing paper.
Keep the sole flat on the work. The cast iron base is flat and it is heavy enough to sit down on the wood, but it will not sit down if you tip it. On a wide end, work from one edge toward the middle, then turn the board around and work from the other edge to the middle. You are always cutting into supported wood, and you meet in the middle instead of running off the end of the board.
Step 5: Check with a square and know when to stop
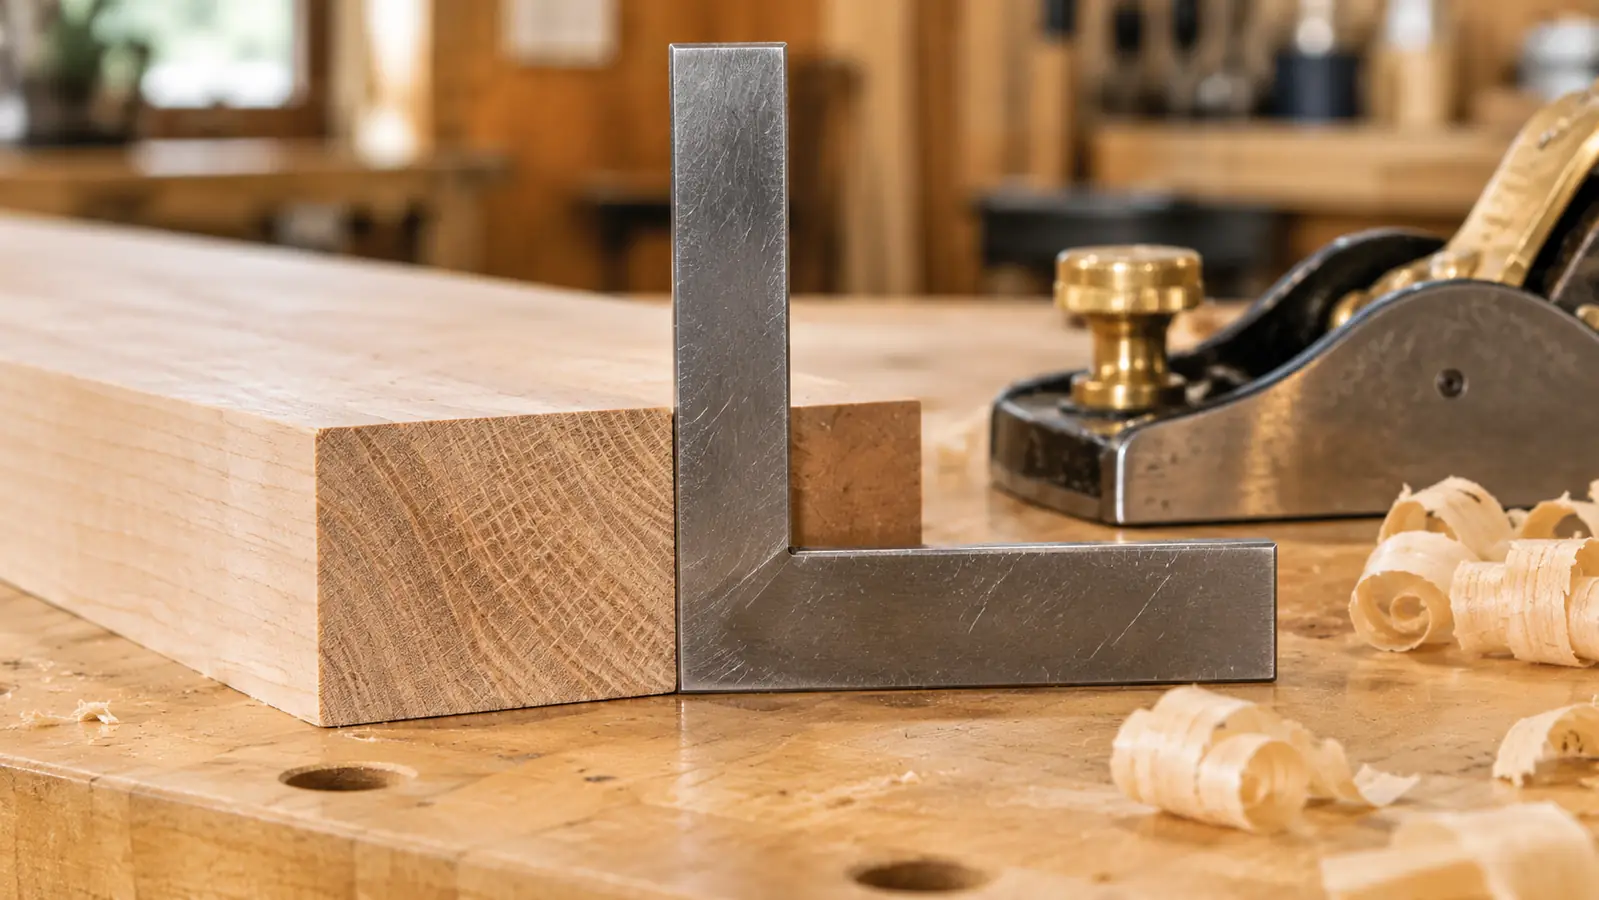
End grain will fool you. It looks clean under the shop light, then you hold a square to it and find you have rolled the edge over by a couple of thousandths. Check after every few passes, not at the end. A small engineer's square laid against the end and against the face tells you what you need to know. If the end is out of square by more than light passes will correct, go back to the saw. The plane is the wrong tool for fixing a bad cut.
The other thing to watch for is the burnished look, a shiny, slightly compressed surface where the blade has been skating rather than cutting. Usually that means the iron has dulled, or you are taking such a fine cut that you are rubbing the wood instead of slicing it. A few strokes on a fine stone or a strop bring it back. Keep going with a dull iron and you will polish the end grain without ever getting it flat.
Stop while the end is still a hair proud of your line, not after you have gone past it. Wood does not go back on. I aim to leave the scribe line just visible, then take one last pass with nothing but the weight of the plane. The Jorgensen is 1.5 pounds, and that is enough. If you are pressing down hard at the end of a trim, you set the iron too deep three passes ago.
What Else Helps
A bench hook or a shooting board does more for the quality of a small end than any plane will. Anything under a foot long is awkward to hold and easy to tip, and a shooting board puts the piece at a consistent angle with both hands free on the plane. It also keeps your fingers out of the path of the blade, which matters more every year.
Wax on the sole is worth the ten seconds it takes. A rub of paraffin or a candle stub on the cast iron base, especially in winter. My shop is a converted single-car garage with a wood stove in the corner, and in January the sole will drag on cold wood until I wax it. It is no substitute for a sharp iron, but it helps you keep the plane flat and moving.
Species matters more than most people admit. Pine and fir trim easily once the iron is fine. Oak and maple take a keener edge and more passes. Woods with interlocked grain will fight you no matter what you do, and that is where skewing earns its keep. And do not bother with plywood. The alternating plies chip no matter how fine the iron is, and you will spend more time on the end than the piece is worth.
Finally, sharpen more often than feels reasonable. End grain is hard on an edge, and a block plane doing this work will need attention sooner than one jointing a long edge. Two minutes on the stone is cheaper than fifteen minutes of fixing a torn end you should not have had to fix.
The plane I keep set up for end grain, not for everything else
The Jorgensen No.60-1/2 low angle block plane: 1.5 pounds, a 1.38 inch cutting width, an O1 tool steel blade, and a cast iron base that stays flat on the work. Set it fine, skew it, and let the iron slice.
Amazon Check today's price on Amazon →