
I have a three-quarter inch bevel-edge chisel I bought in 1988, and it has been on a stone more times than I can count. For the first ten years of owning it I sharpened it on whatever was handy, including once, and I am not proud of this, the concrete apron outside the shop. It cut. It also wandered, chattered, and left a shoulder in the work you could catch with a thumbnail. The problem was never the chisel. It was that I had no single place to take an edge to, and no method, so every sharpening was a fresh experiment.
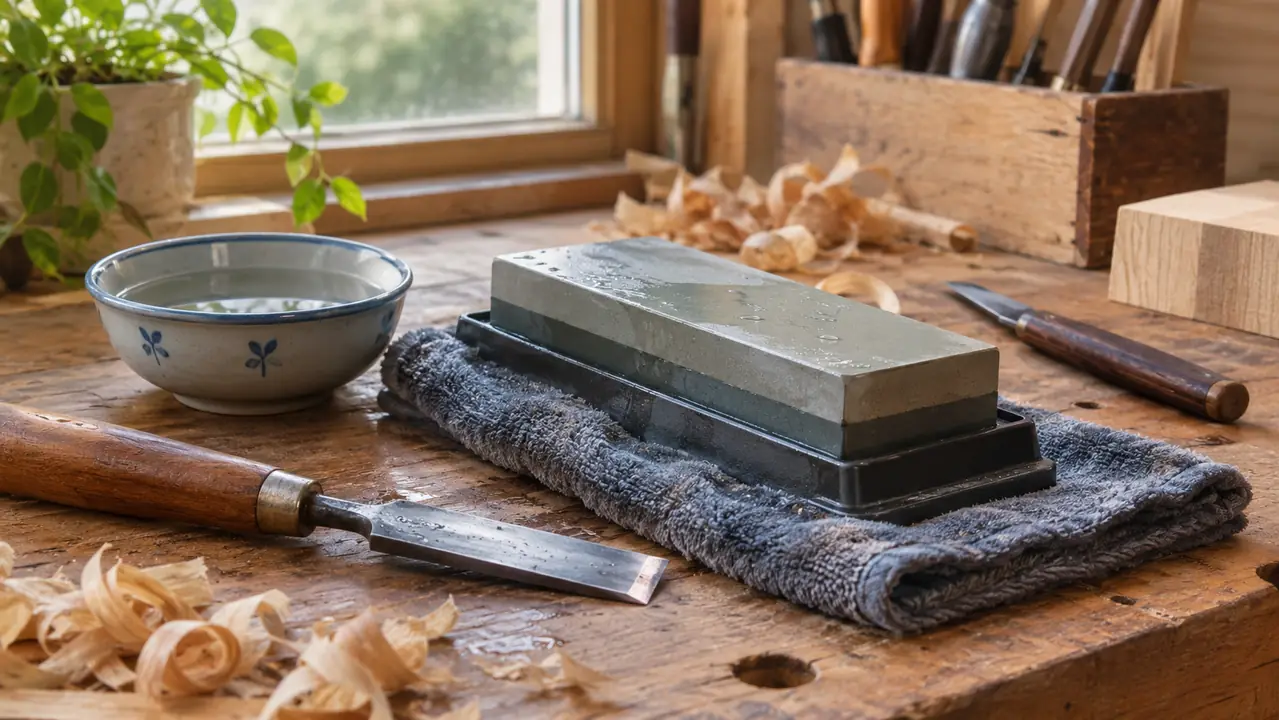
A combination whetstone fixes both. One block, two faces, coarse on one side and fine on the other. The King KW65 sits right in the middle of that idea, with 1000 grit on one face and 6000 on the other, eight inches long, two inches wide, one inch thick, sixteen ounces, and a sturdy plastic base to hold it. It is a water stone, so it wants to be wet. That is the entire equipment list. Everything after this is method, and method is what actually decides whether your chisel shaves pine end grain or crushes it.
Two grits, one block, and a chisel that finally behaves
The King KW65 does the coarse work and the polish on my bench. 1000 grit to raise the burr, 6000 to take it off. Sturdy plastic base included.
Amazon Check Today's Price on Amazon →Step 1: Soak the stone and build a station that does not move
A combination stone is two tools in one block. The 1000 grit face is the coarse one. It has no trouble taking a nick out of an edge, and it will leave scratches you can see in the light. The 6000 face is the fine one, and its only job is to erase those scratches and leave you a polished bevel. Coarse first, fine second, every time, no exceptions.
Before any of that, water. This is a water stone, not an oil stone, and the two do not mix. Drop it in a tray, hold it down until it stays under, and leave it until the bubbles stop coming out of the pores. Ten minutes is usually enough for a stone this size, fifteen if it has sat dry on a shelf all winter. If I know I am spending a morning at it, I carry the stone in the house the night before, because one sitting at room temperature takes water faster than one that has spent the week at forty degrees in the garage. Then keep a small dish of water and your fingers at the bench, because a water stone that goes dry while you are grinding will load up with steel dust and stop cutting.
Set the stone in its plastic base on a surface that will not skate. I use a damp folded towel under the base on the maple bench, which grips and catches the runoff at the same time. Keep the water off bare wood. Keep the stone near the front edge of the bench so your forearm hangs naturally, because you are going to make the same stroke a hundred and fifty times and a bad working height will find your shoulder long before the chisel gets sharp. I learned that one the hard way in the winter of 2011, working through a set of four chisels at a bench that was set too high for me, and I could not lift my right arm comfortably for two days afterward. The stone was fine. The station was wrong. The King now sits in the same spot, about four inches back from the front edge, in the same base, and it does not move.
Step 2: Find the bevel and prove it to yourself with a marker
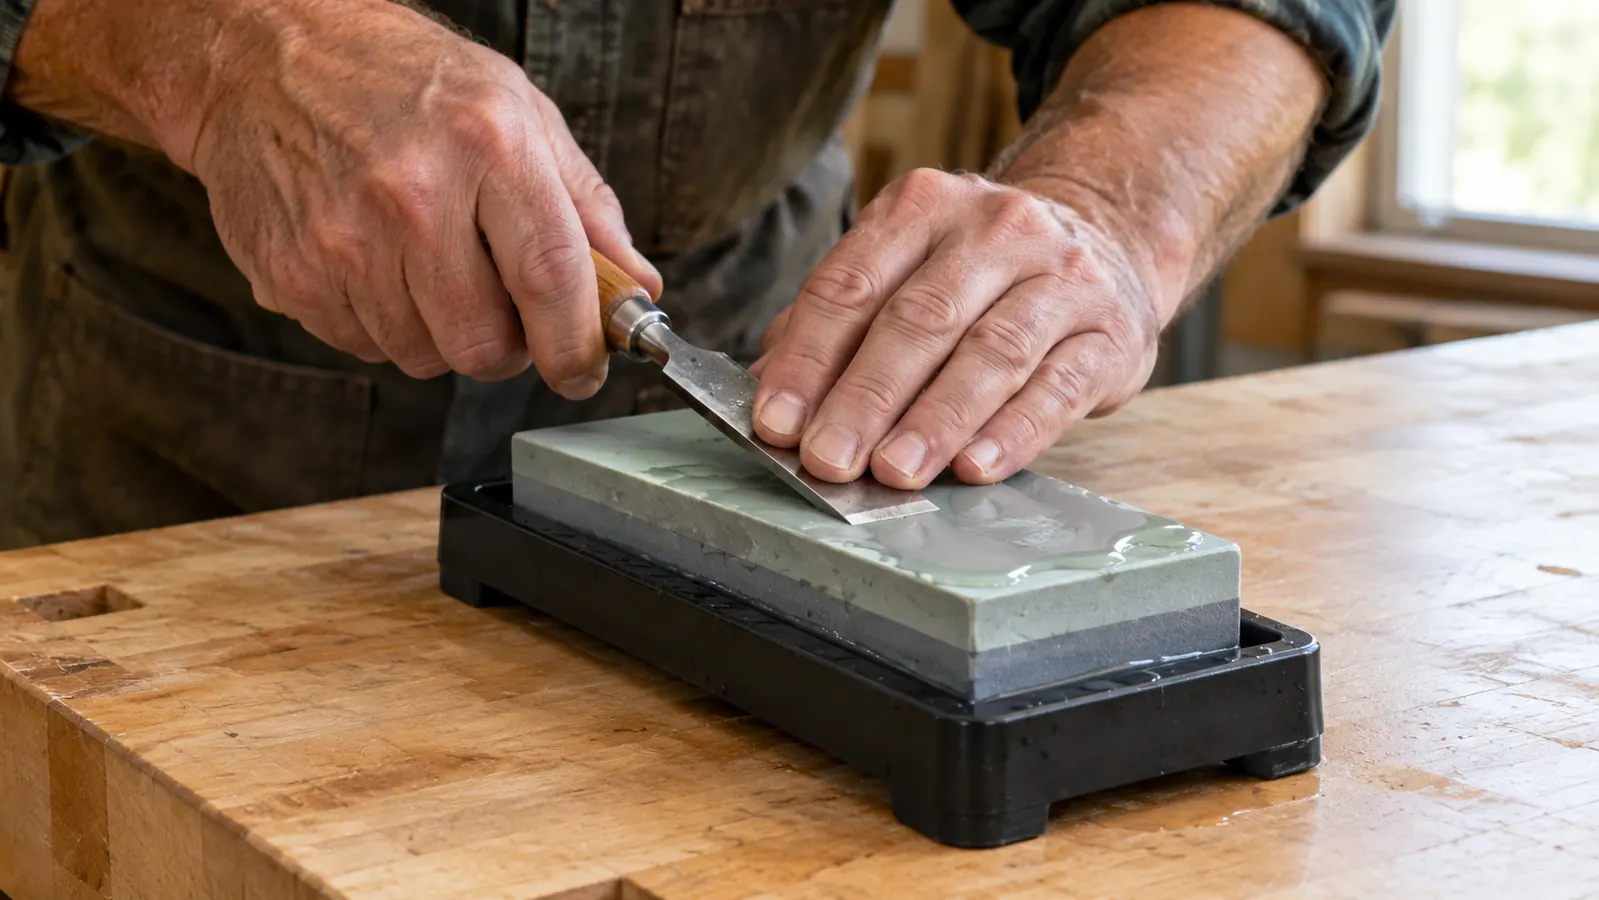
The bevel is the ground face at the tip of the blade, the angled part that does the cutting. A bench chisel is normally ground at 25 degrees, and a mortise chisel closer to 30, because it takes a beating in oak. If you do not know what yours is, do not guess and do not trust whoever owned it last. Blacken the whole bevel with a felt-tip marker, set the blade on the 1000 face, and take three light strokes. Where the ink comes off is where you are actually grinding. Ink gone only at the tip means you are riding too high. Ink gone only at the back of the bevel means too low.
This is the part everyone skips, and it is the part that matters. A bevel sharpened at a slightly different angle every time ends up rounded, and a rounded bevel can feel sharp off the stone and then fold over on the first cut. You want the bevel flat and the whole width of it touching at once. Rock the blade by the handle until you feel it come down solid, and hold it there. I bought a one inch chisel at a flea market in 2016 for very little, and the man before me had sharpened it freehand at what turned out to be nearer 35 degrees, with the bevel rounded like a spoon. I used it that way for two years before I checked, and it worked, but it was slow in pine and useless in oak. Regrinding it back to 25 took most of an hour on the coarse face. It has been a good chisel ever since. That is what the marker is for. It tells you what you actually have rather than what you assume. If your hands wander, and mine do on anything narrow, use a honing guide to hold the angle for you. It is a separate item and not part of the stone. Under an inch wide I clamp the blade in the guide. Over an inch I go freehand, because I can feel the bevel sitting flat.
Step 3: Grind on the 1000 until the burr comes up
The burr, sometimes called a wire edge, is a thin curl of steel pushed past the cutting edge and over onto the flat back of the blade. You cannot always see it. You can feel it. Drag a fingertip across the back of the blade, from the flat toward the edge, never along the edge. When you reach the tip and feel a slight catch that was not there before, the burr has formed across the full width and the 1000 face has done its job.
Work the stone diagonally, edge leading, pushing away from you, and use the whole eight inches. Grind in the same two inch patch every time and you will hollow the stone in the middle, and then your chisel will never sit flat again. Ten strokes, check the marker line if you are still learning, ten more. On a three-quarter inch chisel in reasonable order I count somewhere around forty strokes before the burr shows up across the edge, and it takes under a minute on a freshly wetted 1000 face. A chisel that has never been properly flattened may take five minutes, and that is normal. Do not start leaning on it because it is taking a while.
Pressure here is firm but not a fight. Let the grit cut. If the stone starts to feel slick and the blade just skates across it without resistance, it wants more water, not more force.
The burr is the whole conversation. Grind until you feel it on the back, polish until you cannot feel it at all, and the chisel is sharp. Everything else is bookkeeping.
Step 4: Cross the scratches on the 6000
Wipe the blade and rinse the stone before you flip it. A stray piece of 1000 grit carried onto the fine face will gouge it. Flip the block, wet the 6000, and change the direction of your stroke. If you were pushing straight away from you on the coarse face, go across at an angle on the fine face. Crossing the scratch pattern is how you see your progress, and it is how you know when the coarse scratches are gone.
Light pressure now. The 6000 is not there to remove metal in any quantity, it is there to refine what the 1000 left behind. Ten or twelve strokes, edge leading, bevel flat, checking every few strokes that the surface has not dried. Feel for the burr again. It will be finer than before, and on a well behaved chisel it may be hard to find at all, which is fine. Two or three times a year I skip the 1000 entirely and go straight to the 6000 on a chisel that is still cutting well and only needs the edge brought back. That is the real speed of a combination stone.
Step 5: Take the burr off the back and test on end grain
The burr is the last thing to go, and the back of the blade is what removes it. Lay the flat back of the chisel dead flat on the 6000 face, hold the blade down with your fingers spread across it, and pull it toward you three or four times. Pull only. Do not push, do not lift the handle, do not rock. Any lift at all and you will dub the edge, which means rounding it over, and then you are back at Step 3 starting again.
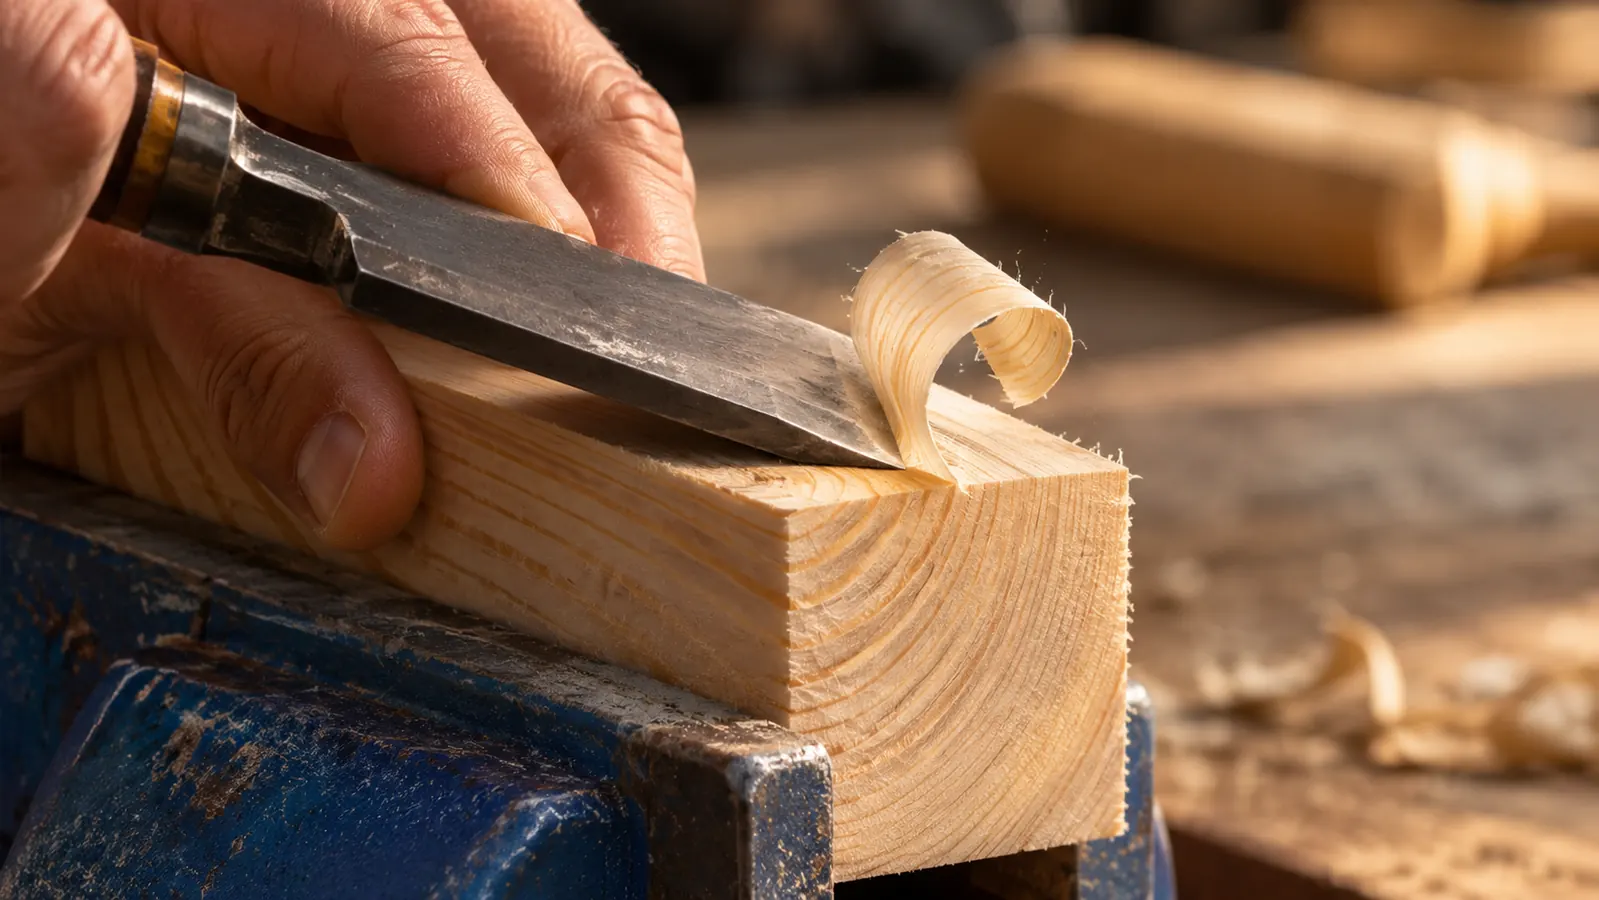
Then check it. The honest test is not shaving arm hair, although that is a fine party trick. I keep an offcut of white pine about eight inches long on the bench for exactly this, squared and planed, and I take a paring cut straight across the end grain, which is cutting across the severed ends of the fibres rather than along them. A sharp chisel leaves a polished, almost glassy face and a shaving you can nearly read through. A dull one crushes the fibres and leaves them white and fuzzy. If the end grain comes up fuzzy, back to the 6000 for another ten strokes and try it again on a fresh spot. Then dry the stone, dry the blade, and put a drop of oil on the chisel, not on the stone. Steel left damp on the bench overnight will spot, and it does it fast.
What Else Helps
Flatten the stone. Every stone dishes, meaning it wears hollow in the middle, and the 1000 face does it fastest because it does the most work. Once a month, or every fifth sharpening, hold a straightedge against the face and look for light under the middle. If you see it, the stone needs flattening. I do mine on a coarse diamond plate under running water, and I know men who use wet and dry paper on a sheet of glass. Either way, five minutes a month keeps the stone cutting flat and keeps your chisels from coming off it convex.
Sharpen little and often. A chisel touched up on the 6000 for thirty seconds every half hour of work stays sharp all afternoon and lasts a lifetime. The chisel left until it will not cut at all takes ten times as long to bring back and loses more steel every time you finally get to it. The 1000 face is for bringing an edge back into shape. The 6000 is for keeping it there. Most of my sharpening is the second kind, and if you looked over my shoulder on a Tuesday morning you would mostly see me pulling a blade four times across the fine face and going back to work.
Store the King dry, on its side or in the base, and never let it freeze. A soaked water stone left in an unheated shop through a New Hampshire January will crack, and it will do it quietly overnight. In deep winter I keep mine on a shelf in the mudroom instead of the garage for that reason alone. And keep a rag handy for the bench, because water runs off a stone faster than you expect and maple does not care for it.
Sixteen ounces of stone, and the last edge you will fight with
1000 grit to shape the bevel, 6000 to finish it, sturdy plastic base included. Mine lives by the window on the bench and gets used most days.
Amazon Check Today's Price on Amazon →