
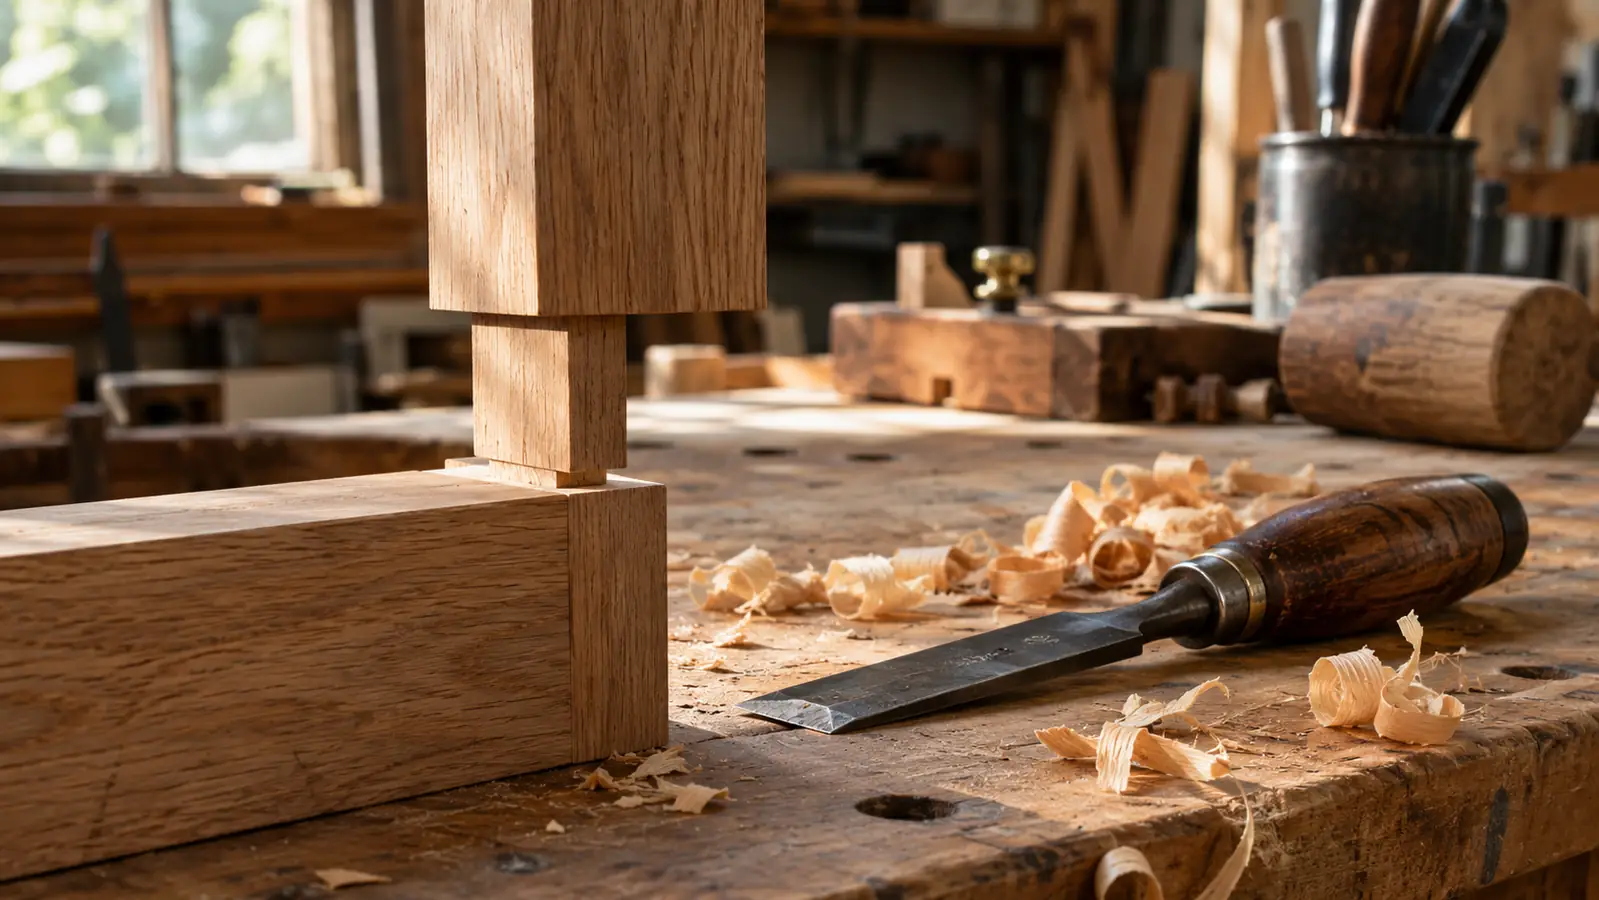
A tight joint is not a failure. It is what happens when you cut to the line, the line was right, and the last two shavings of waste are still sitting in the socket. You test the fit, the pin stops a little proud of the shoulder, and the temptation is to pick up the mallet and teach it a lesson. I have done that. I have also spent an afternoon gluing split pins back together and telling myself the crack was character. Paring is the quieter fix, and it is the one that holds.
Paring means taking the last of the waste off with a chisel and hand pressure, in cuts thin enough that you can stop before you have gone too far. It is the least dramatic skill in the shop and the one I use most. I keep a Narex set on the bench for it, six bevel edge chisels from 6 mm to 26 mm, and the two smallest do the bulk of the work. The blades are chrome-manganese steel tempered to Rc 59 and ground at 25 degrees, which is a sensible starting point for paring once you have honed them. What follows assumes you have already cut the joint and it is close. If it is not close, go back to the saw.
The paring happens with the two smallest chisels in the box
The Narex 6 piece set runs 6, 10, 12, 16, 20 and 26 mm, ground at a 25 degree bevel, hardened to Rc 59, with European beech handles, in a wooden presentation box. The small sizes fit inside a socket without the handle fouling the work, which is the whole reason they get reached for first.
Amazon Check Today's Price on Amazon →Step 1: Sharpen before you blame the joint
A paring cut is a slicing cut. The edge travels along the surface rather than driving into it, and it has to be polished to do that without tearing. A chisel that is sharp enough to chop a mortise is not automatically sharp enough to pare end grain cleanly. Chopping is a wedge splitting fibers ahead of the edge. Paring is a blade sliding through them. If the pared surface comes up fuzzy, or the chisel skates instead of biting, the joint is not your problem. The edge is.
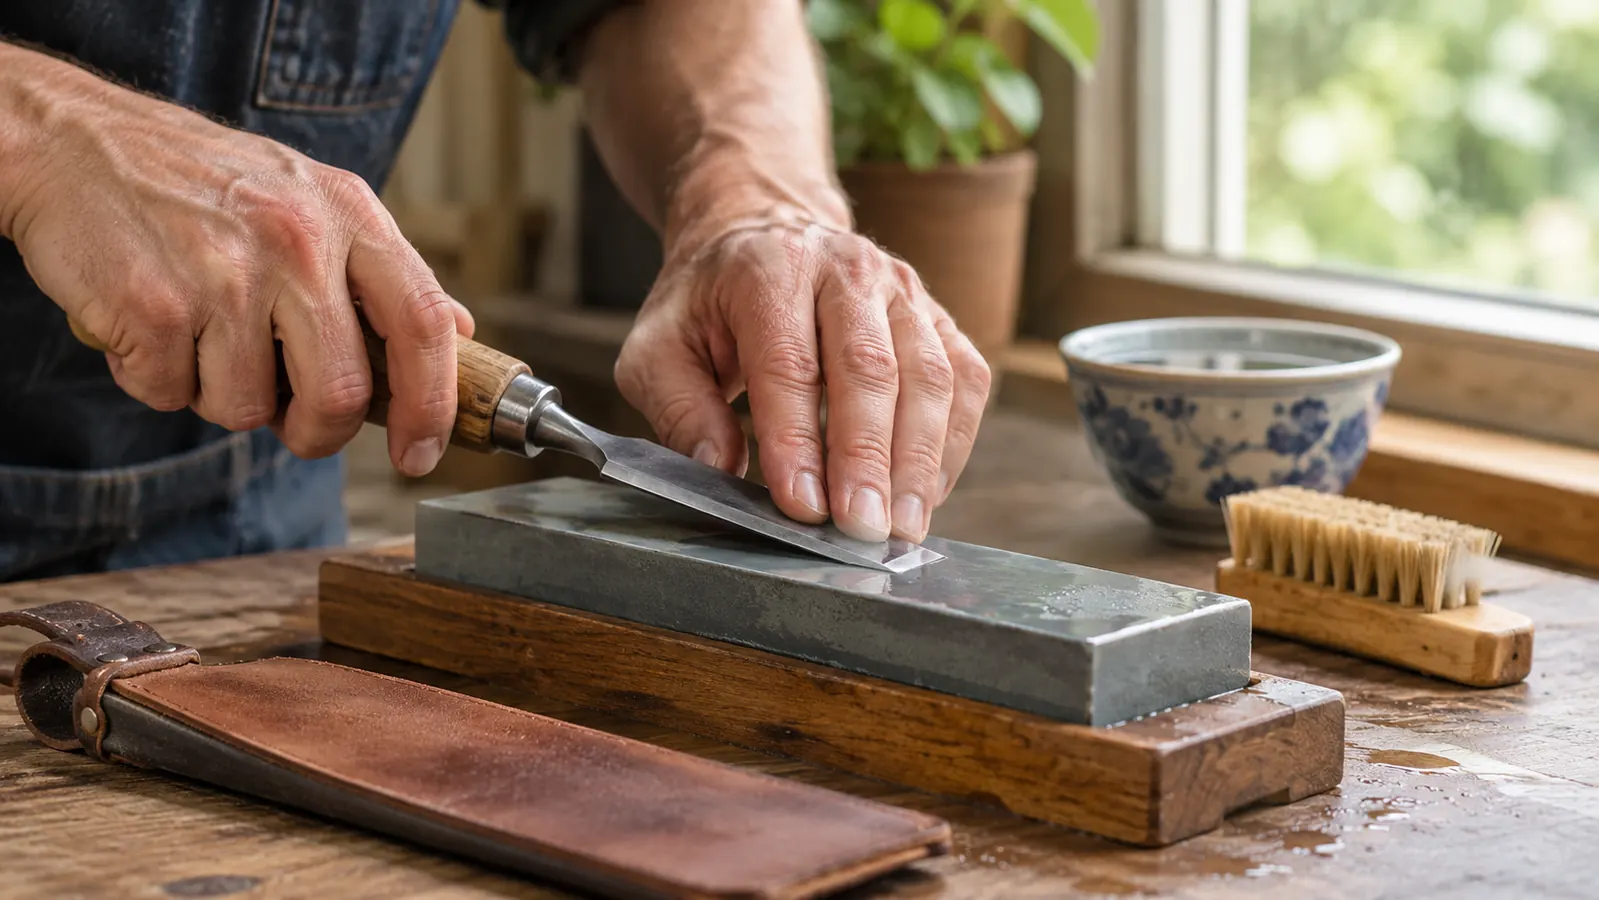
The Narex blades arrive ground at 25 degrees, which is a workable paring angle in most hardwoods. I hone a small secondary bevel a couple of degrees steeper by hand and finish on leather. That keeps the edge on the stone for less time and keeps it fresh longer. You do not need a jig for this. You need a flat stone, a steady wrist, and enough discipline to stop while the edge is still good instead of waiting until it is visibly dull and you have to take off real metal to get it back.
The test I use is an offcut of pine, end grain up, chisel held vertically in one hand with no mallet. It should bite in under hand pressure and lift a clean curl. If it slides, back to the stone. Two minutes of honing saves twenty minutes of wondering why the joint keeps getting tighter and the surface keeps getting worse.
Step 2: Find the tight spot instead of guessing at it
Most people pare the whole socket. That is how a joint that was two shavings tight becomes loose on three walls and still tight on the fourth, and now you have two problems. A bind almost always has one cause, and it is in one of four places: the shoulder is not seating, the socket walls are pinched, the bottom of the socket is shallow, or the inside corner is holding the pin off. Find out which one before the chisel comes off the rack.
Dry fit it and look. Pencil the socket walls lightly, push the joint together, take it apart, and see where the graphite has been rubbed away. A soft pencil works better than a hard one on end grain. Chalk does the same job on darker woods. Then hold the joint up to the window and look for light at the shoulder. A hairline of daylight at the top of the shoulder and none at the bottom tells you the pin is bottoming out, not that the shoulder is out of square. Those two faults need opposite fixes.
Check the outside faces with a small engineer's square and check the diagonals. If the joint rocks rather than seats, one wall is high. If it goes halfway and stops dead, something is bottoming. If it goes most of the way and then tightens gradually, the walls are tapered or the pin is a touch thick at the base. Each of those is a different cut in a different place, and none of them is fixed by taking another pass at the shoulder.
Most people pare the whole socket. That is how a joint that was two shavings tight becomes loose on three walls and still tight on the fourth.
Step 3: Set your hands so the chisel cannot dive
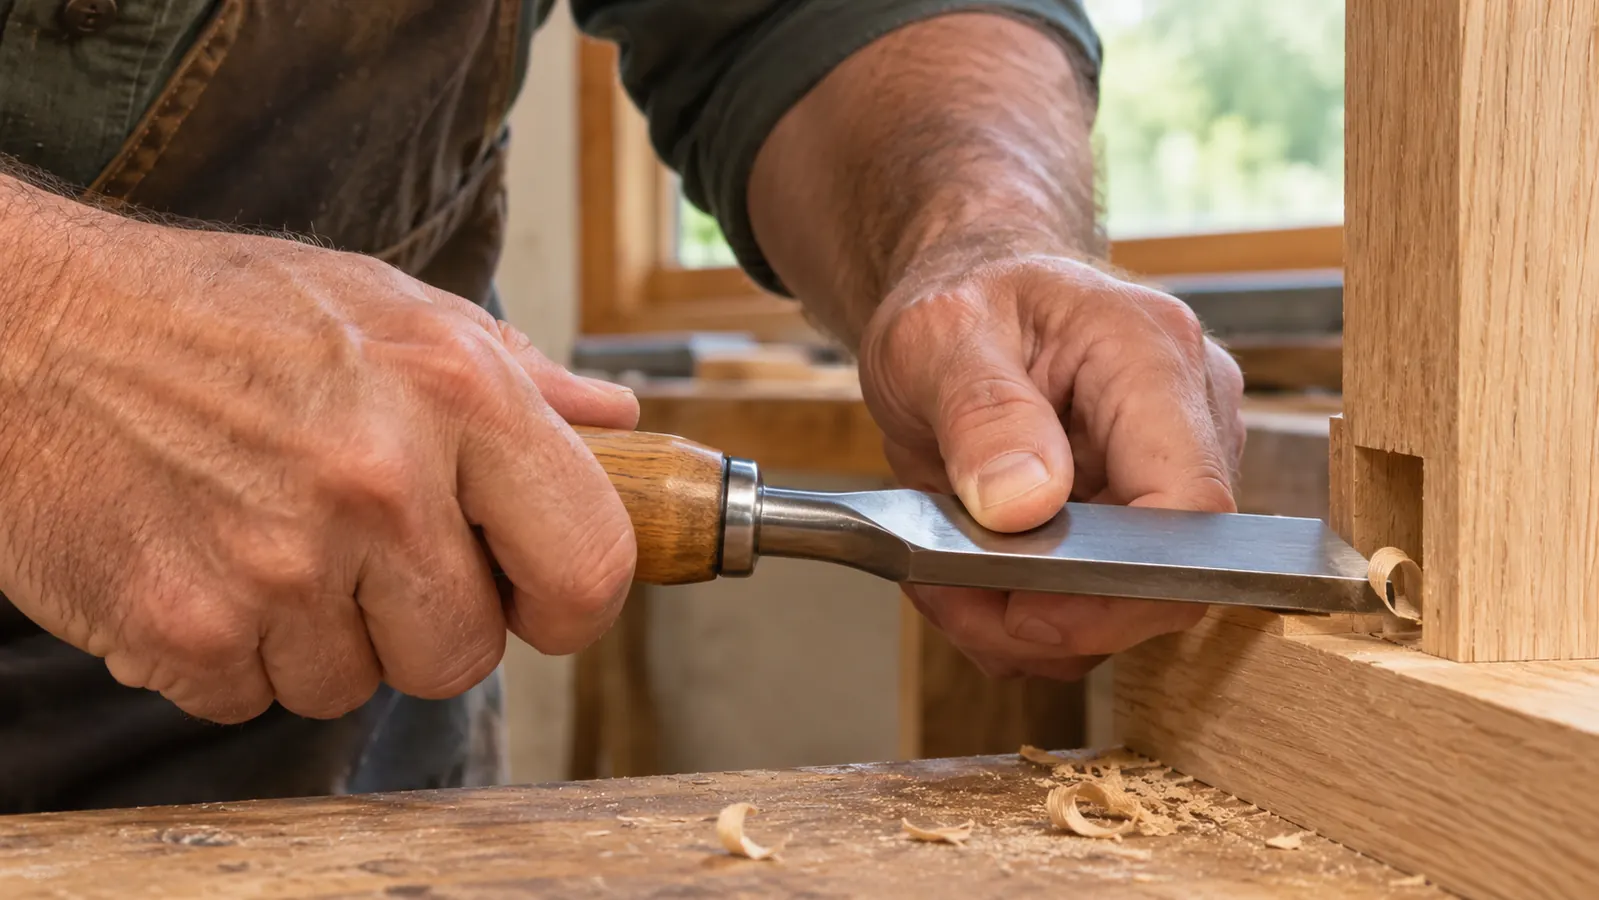
Paring is done with the chisel registered against the work. The flat back of the blade rides on the surface you are using as a reference, the bevel faces up, and the edge meets the cut at a shallow angle. That is the difference between paring and prying. The moment the back lifts off the reference, the chisel is free to dive, and you are no longer controlling the depth, you are hoping.
Two hands on the tool. The dominant hand on the handle, the other wrapped around the blade with the thumb or the index finger resting on the work as a depth stop. When the finger touches down, the cut stops. That is the whole depth control system, and I have not found a jig that does it better for this particular job. The finger also tells you when the chisel starts to tilt, which is the moment before it dives.
Get the work up to you. I pare with the piece in the vise at roughly elbow height, or on a bench hook if it is small, and I stand so the cut is in front of my sternum rather than off to one side. A slipping chisel travels in the direction you are pushing. Never pare toward your hand, your lap, or the vise jaw. If the only way to make a cut is to pull the chisel toward yourself, turn the work around and push.
Step 4: Take the cut, and skew the chisel
Push straight and the full width of the edge has to be driven through the wood at once. Skew the chisel fifteen or twenty degrees and the cut becomes a slice, a narrow section of edge at a time, and it takes a fraction of the force. The bevel still faces up, the back still rides the reference surface, you are only changing the angle at which the edge meets the fibers. That single change is the difference between a paring cut that behaves and one that chatters and digs.
Take thin bites. If the chisel is fighting you, either it is dull or the bite is too deep, and those are the only two answers worth considering. I aim for a shaving I can read newsprint through. Five of those take less time than one heavy pass that goes past the line, and they leave a surface you can glue without a second thought.
Direction matters. On a socket wall, work from the open end toward the inside corner so the exit is supported, and stop short of the baseline so the shoulder registers before the pin bottoms out. On end grain, come in from both edges toward the middle so the far corner does not blow out. Cut on the waste side of the line rather than on the line itself, because the line is a boundary and not a suggestion.
Step 5: Refit, and stop before you are happy
Test the fit after every pass. Dry surfaces, no glue, no mallet. A well fitted joint goes together with firm hand pressure and a couple of light taps from a wooden mallet. If you have to hit it, it is still tight. If it drops in and rattles, you went too far, and the repair is a shim or a new pin, not another cut, because there is no cut that puts wood back.
Two or three passes is normal. Ten passes means you are cutting in the wrong place, and you should go back to step two with a pencil rather than keep going. The joint tells you where it is tight every time you test it. It is worth listening to instead of arguing with.
When it closes, check the shoulder line for a gap with the light, check the outside faces for flush with your fingers, and stop. A joint a hair loose that glues up square is stronger than a joint a hair tight that splits going home. I learned that one twice on the same afternoon, on a run of drawer dividers I had to make all over again.
What Else Helps
A light you can move. The adjustable lamp by my sharpening station does more for my joinery than any jig I own, because raking light across a shoulder shows a gap my fingers cannot feel. Ten seconds of moving a lamp has saved me more than one bad glue up.
A router plane, for the floor of a socket. Taking a shallow mortise deeper with a chisel alone is slow and the bottom ends up crowned. A router plane registers on the surface and takes the whole floor down evenly to a set depth, and then the chisel only has to clean the corners. It is also the tool that tells you whether the socket floor was ever flat to begin with.
A shoulder plane is worth knowing about, but most people reach for it too early. It is for trimming a shoulder that is genuinely out of square with the face, not for closing a gap caused by a pin bottoming out. Diagnose first, then pick the tool. A shoulder plane used on a joint that only needed a couple of passes inside the socket is a fast way to make the joint loose in a place you cannot fix.
Offcuts of the same species you are jointing. Test the fit on the real joint and test the edge on scrap. End grain in white oak and end grain in pine behave nothing alike, and a chisel that slices one will crush the other. This is also how you find out that a chisel needs another minute on the stone without risking the actual workpiece.
A holdfast or a bench hook, so that both hands stay on the chisel. Half the diving I have done in my life happened because I was holding the work with one hand and cutting with the other, and the work shifted an eighth of an inch at exactly the wrong moment. Clamp it or hook it. Then cut.
A clean bench and a brush. A shaving under the piece holds it off the surface and puts the joint a degree out of square in a way you will not notice until the glue is dry. I brush the bench before every test fit. It sounds fussy and it takes four seconds.
Time and weather. A joint that is tight in a damp morning shop may not be tight by the afternoon. If a joint is half a shaving from fitting and the wood has just come in from a cold garage, let it sit overnight before taking the chisel to it. I have pared a joint to fit on a Tuesday and found it loose on Wednesday, and the wood had not changed. The weather had.
A joint that has to be hit is a joint that is still too tight. The mallet is not a fitting tool.
Six chisels in a box, and one joint that closes under hand pressure
The Narex set covers 6, 10, 12, 16, 20 and 26 mm on a 25 degree bevel, hardened to Rc 59, with European beech handles and a wooden presentation box that keeps the edges off each other. If most of your paring happens inside a socket, the small end of the set is the part you will wear out first, and that is the part worth having in good steel.
Amazon Check Today's Price on Amazon →