
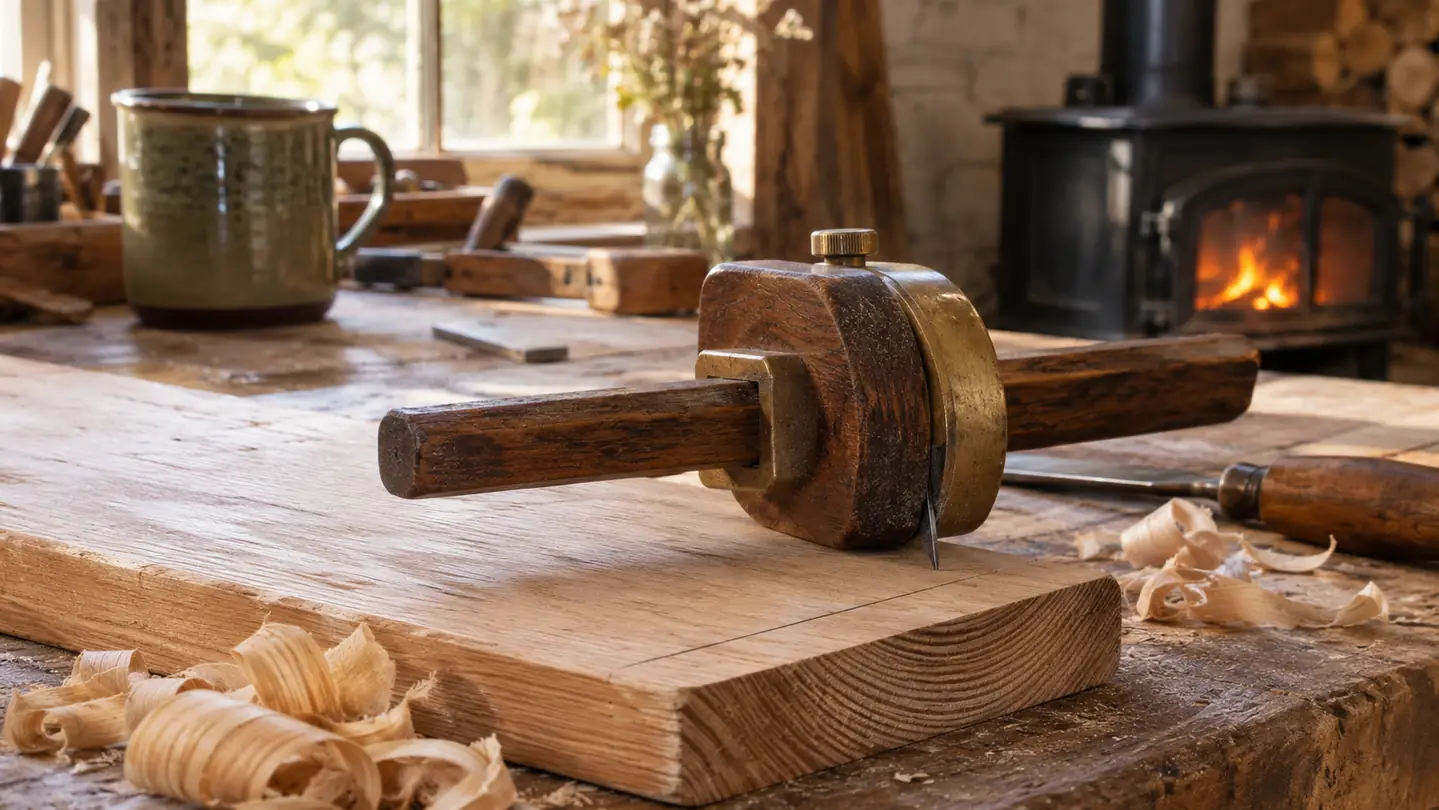
I cut my first dovetails long before I owned a table saw, and the joints showed it. The sawing was not the trouble either. The trouble was that the only line I had to saw to was a grey pencil mark on end grain, and a pencil mark is a suggestion, not a boundary. Graphite smears down into the pores, the line goes fat wherever you press harder, and by the time you have transferred that fat line onto the second board the joint has already lost. Everything after that is you trying to hide the error with a chisel.
A wheel marking gauge fixes the part that happens before the saw. It is a simple tool: a round body, a fence that slides along a graduated bar, and a hardened steel wheel at the working end that severs wood fibers instead of smearing pigment across them. The one I keep within reach is the Clarke Brothers Wheel Marking Gauge, an 8 inch tool in solid brass with a laser engraved bar marked in inches and millimeters up to 6 inches or 150 mm. It ships with two spare hardened wheel cutters, and the fence has a flat spot machined into it so the thing stops rolling off the bench every time I set it down. What follows is how I mark a dovetail with it, in the order I actually do it, including the step I still rush when the wood stove is dying and I want to be inside.
The line you saw to decides the joint, not the saw
Eight inch brass body, laser engraved graduations in inches and millimeters to 6 inches or 150 mm, a roll stop fence with a flat spot so it sits still where you put it, and two spare hardened cutters in the box.
Amazon Check Today's Price on Amazon →Step 1: Set the fence off the board, not off a rule
The baseline of a dovetail sits at the thickness of the board it wraps around. If the pin board is 3/4 inch thick, the shoulder line on the tail board sits 3/4 inch back from the end. Most people measure that thickness with a rule and then set the gauge to the number the rule gave them. There are two chances to be wrong in that and only one chance to be right. Board thickness wanders, even in stock you jointed yourself, and a rule held at an angle to the end grain reads a little long. Set the gauge directly instead. Lay the board flat on the bench, hook the fence over the edge so it bears on the face you are calling the outside, then slide the bar until the wheel just touches the opposite face. That setting is your baseline. No rule changes hands.
The graduated bar earns its keep on the second board. The Clarke Brothers bar is laser engraved in both scales, inches and millimeters, up to 6 inches or 150 mm, and the marks are clear enough to read without my glasses as long as the light is on the bench and not behind me. As soon as the fence is set off the board, I read where it landed and write that number on the end of the board with a pencil. When I come back to mark the matching piece, or the other three sides of a drawer, I set the fence to the same number and the baselines match without me hunting for a setting by feel. Repeatability is the whole job here. Two or three thousandths of difference between the two boards shows up as a pin standing proud of the tail, and no amount of paring puts it back.
The flat spot on the fence is worth one sentence. Round brass bodies roll. On a bench with any crown to it, and mine has crown, a round gauge will find the low spot and go there. A flat machined on one face of the fence stops that. It is a small feature and it is the reason the tool is still where I left it.
Step 2: Mark the shoulder all the way around, and give the line its waste side
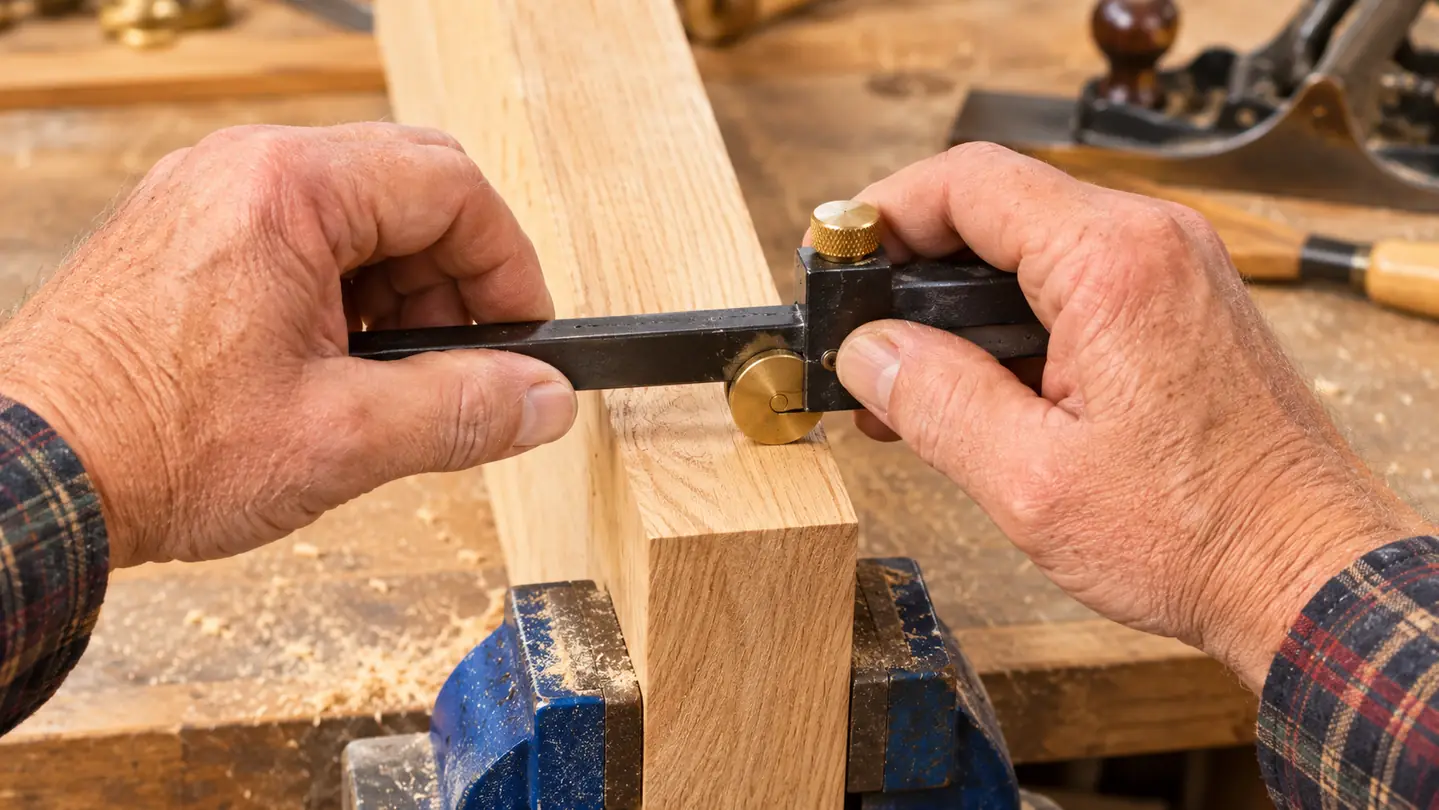
I mark the shoulder line on the end grain first, then carry it down both long grain faces. The reference face stays down on the bench and the reference edge stays against the fence, so every line relates back to the same two surfaces. This is where a wheel cutter beats a knife. A knife follows the fibers on end grain and wanders off a straight edge, especially in something open grained like oak or ash. A wheel is a small disc running true on the bar, so it severs across whatever grain it meets and keeps going straight.
Decide which side of the line is waste before the cutter touches wood. On a tail board the baseline is the shoulder and the waste is the end beyond it. You want the line itself to survive the saw, so saw on the waste side and leave the line standing. That sounds obvious written down. I have watched competent woodworkers mark a perfectly good gauge setting on the wrong side and then spend twenty minutes fitting a joint that was never going to close.
Two fingers on the fence, the knurled body between thumb and forefinger, one light pass with the wheel. The knurling on the brass is there for exactly this, to let you steer with your fingertips instead of clamping the tool in your fist. Press hard and the wheel ploughs a trench with a raised burr along each side, and a trench with burrs on it is harder to saw to than a fine line, not easier.
Step 3: Carry the setting to the pin board before you transfer anything
The pin board's shoulder line has to land at the same distance as the tail board's, exactly, or the joint will not close flush no matter how well the tails themselves fit. This is the second place the graduated bar pays for itself. Set the fence to the number you wrote down, check it against the actual board once more, then run the baseline around the pin board's end grain and both faces. Check it with a square afterward. It takes ten seconds and it catches the one time in fifty that you read the bar a graduation off.
With the baselines in place on both boards, transferring the tails themselves is a knife job, not a gauge job. Stand the tail board on the pin board's end, faces flush and edges flush, and hold it there. I clamp both boards in the vise with the tail board standing on top, because my hands are no longer steady enough to hold two boards square and steer a knife at the same time. Trace each tail with a marking knife, then square the lines down the pin board's face. The gauge has done its part by then. It set the shoulders that everything else registers against.
Step 4: Step the half pins off the edge with the same gauge
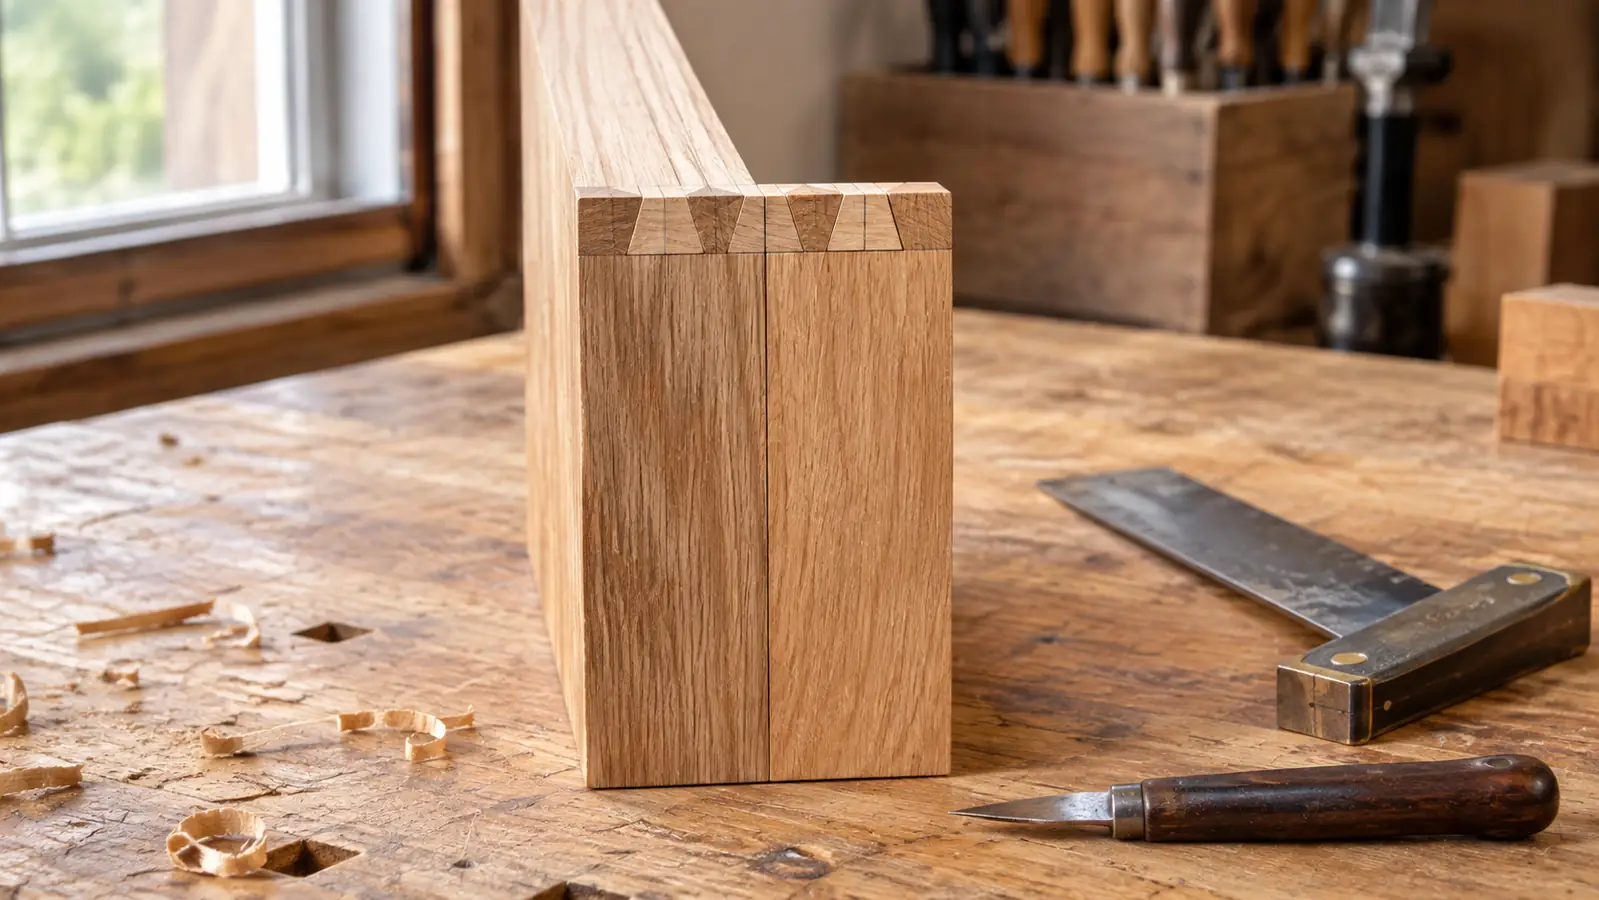
The half pin at the edge of a drawer side wants to be the same width at all four corners, or the drawer looks drunk from across the room. Rather than measure each one, set the fence to the half pin width you want, hook it over the edge, and mark across the end grain. Do it the same way at every corner with the fence set once, and the four half pins match each other without a rule anywhere in the process. That consistency is what neighbors and customers notice, and it is what you notice every time you open the drawer for the next twenty years.
Keep an eye on the cutter here. A hardened wheel that has dulled does not stop working, it stops cutting. You feel it before you see it. The line goes from crisp to shiny, and the wheel skates over end grain instead of biting into it. That is the point to swap it. The two spare cutters that came with the Clarke Brothers gauge live in the drawer under my bench, and having them there means I change one when it needs changing instead of waiting until it stops marking altogether.
Step 5: Deepen the wall, then check it before the saw comes off the hooks
A wheel gauge leaves a fine line, and fine is what you want, but a fine line is not yet a wall. Take a second light pass along the shoulder with the same setting and the same registration, and you will feel the wheel drop into the first cut. That gives you a shallow wall, maybe a third of a millimeter deep. If you want more, run a chisel on its bevel along the line to open a small V. What you are after is a groove the saw plate can sit down into, because a saw that starts in a groove cannot start anywhere else.
Then check the whole layout with a square before you pick up the saw. Baseline square across the end grain, square down both faces, and both boards reading the same number on the bar. This is the step I still skip when the shop is cold and I want to be in the house. Every joint I have had to remake in the last five years, I skipped this check first. It is thirty seconds of looking, and it is the difference between a joint that goes together off the saw and one that goes into the kindling box.
What Else Helps
A vise or bench hook worth trusting. Half of clean marking is holding the board so it cannot shift while the wheel goes around it. My vise has wooden jaws I faced with leather, and they grip a finished corner without denting it. If the board creeps a sixteenth mid pass, the line curves, and you will not see the curve until the joint is cut.
Light from the side. A wheel line on end grain disappears under overhead light and shows up cleanly when the light rakes across it low. The window over my sharpening station is on the wrong side of the bench for most work and on exactly the right side for this, and I have stopped fighting it.
And scrap. Run the setting routine on a piece of pine before you take it to a drawer side. Pine marks differently than maple or cherry, and you want the feel of the wheel in soft wood before you trust it in stock you have already planed to final thickness.
A pencil tells you where the line is. The wheel tells you where the wall is, and a saw needs a wall.
Set the baseline once, then read the number off the bar
The Clarke Brothers Wheel Marking Gauge is the tool I reach for before every dovetail on my bench. An 8 inch brass body, laser engraved graduations in inches and millimeters, a fence with a flat spot so it stays where you set it down, and two spare hardened cutters in the box.
Amazon Check Today's Price on Amazon →